Facebook has finally rolled out their version of a timeline page for brands, so it’s time for a template! With this template, you can quickly create a well-composed Facebook presence for your brand that uses the cover photo and the profile pic together for a stunning effect.
Unfortunately, Facebook makes aligning the design a serious pain. The profile pic gets shrunk down during the uploading process, but even more annoying is how difficult it is to locate the profile pic. To save you a wasted afternoon full of a few choice words aimed at Facebook developers (more than likely accompanied by a massive headache), use the following template and instructions to brand your Facebook timeline much more quickly and easily.
Step 1: Download the Template
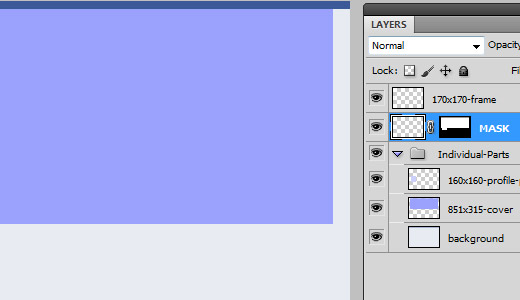
First things first, you need to download the template for the Facebook timeline and open it up in Photoshop. You’ll see the handily-labeled layers and the Facebook brand colors already in place.
Step 2: Getting the Lay of the Land
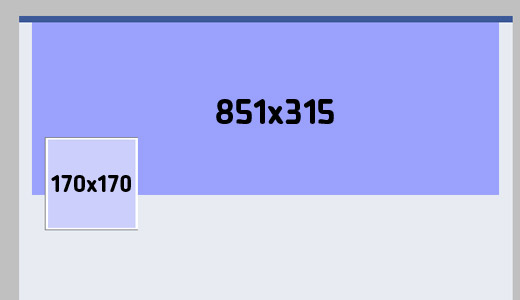
The only areas of the timeline we will be discussing are the cover photo (the large, banner-like area over the top of the page) and the profile pic (the small graphic in the bottom left of the cover area).
The cover photo is 851 x 315 pixels, so design your idea accordingly. The profile pic is 170 x 170 with a 10 pixel border and a 1 pixel drop-shadow/stroke effect. You’re stuck with the border and drop-shadow/stroke. Sorry.
Step 3: Selecting the Right Layers
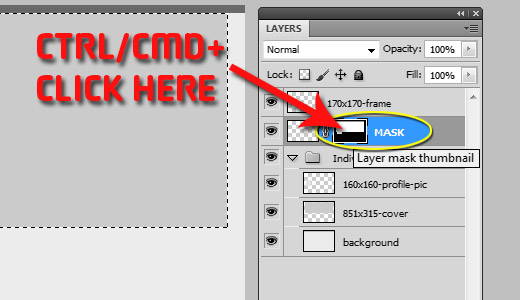
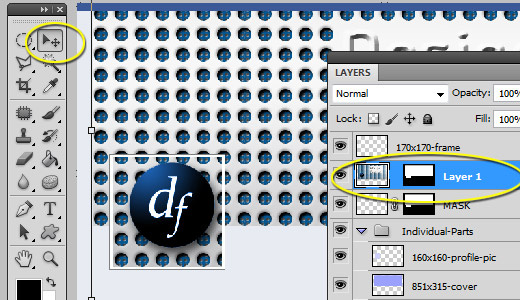
When you’re ready to drop your own design into the template, copy the flattened design (CTRL/CMD + “C”) and start by CTRL/CMD + Clicking the layer mask on the “MASK” layer. I know this may be confusing, so I’ve prepared a picture:
For many, this will be the most difficult part of this tutorial. Good news: it gets easier from here.
Step 4: Paste Into
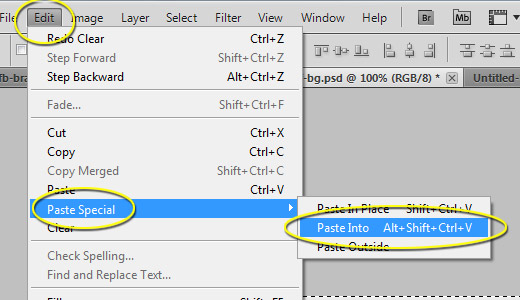
Now we’re going to use an obscure feature of Photoshop that most don’t use on a frequent basis. It’s the “Paste Into” command. With the layer mask still selected, go to “Edit” > “Paste Special” > “Paste Into.”
Step 5: Align As Needed
Now, you can simply use the Move Tool with the layer you just pasted to position the design as needed.
Step 6: The Cover Photo
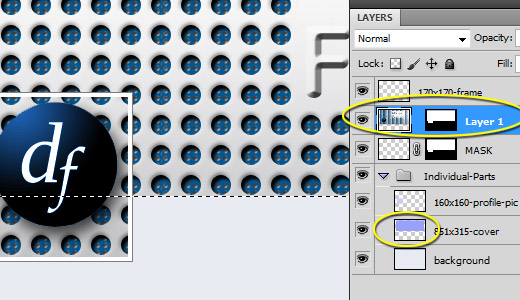
With your pasted layer selected in the Layers palette (my “Layer 1” below), CTRL/CMD + Click the “851×315-cover” layer to select the cover photo area of the template.
Hit CTRL/CMD + “C” to copy this selection, open a new file with the dimensions of 851 x 315, and paste your selection (CTRL/CMD + “V” or “Edit” > “Paste”). Save your selection to a convenient location. Now you have a cover photo at the exact dimensions that you need for your Facebook timeline.
Advanced Step
Your cover photo may end up with a half cut-off logo like mine. To avoid this, you’ll need to approach Step 6 a little bit differently. You’ll place a cover photo into the template that doesn’t have the logo or design in the profile pic area and do Step 6. Then when you go to Step 7, paste the complete design.
Alternatively, put two layers into the template by repeating Step 4, aligning them, and hiding the profile pic area when you perform Step 6.
Step 7: Profile Pic
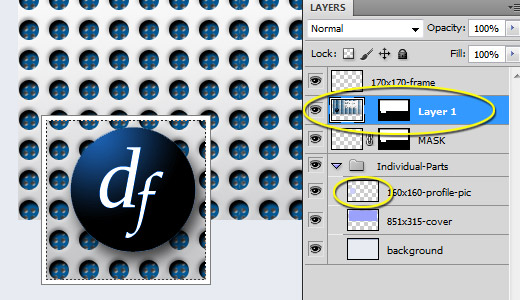
Repeat Step 6 above, but this time CTRL/CMD + Click the “160×160-profile-pic” layer. (For those following the Advanced Step: make sure the profile pic area has the proper design ready to go.)
This is where things get a little bit tricky. Facebook requires a minimum size of your profile pic to be 180 x 180px. You may notice that I’ve got a 160 x 160px selection area. That’s because Facebook will shrink your 180px down to 160px. It’s truly annoying, but that’s what we’ve got to work with.
So, open a new file that is 180 x 180 and paste your 160 x 160 profile pic into it. It should look something like this:
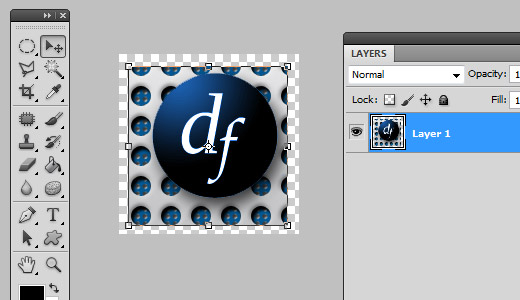
Using the Move Tool, Shift + Drag it to fill the layer. Save it and you’re ready to go.
Step 8: Uploading the Cover Photo
To upload your cover photo, log in to Facebook and cruise on over to your page. Hover over the cover photo area, and in the bottom right section of the cover photo you’ll see a box appear that says “Change Cover.”

Click it and choose Upload Photo. Navigate to where you saved the cover photo and upload it. You won’t have to reposition it because it’s perfectly sized already.
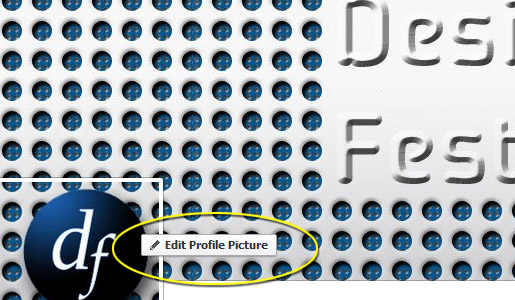
Step 9: Uploading the Profile Pic
Hover over the profile pic area and click the “Edit Profile Picture” button. Select “Upload Photo” and choose your profile picture (that’s 180 x 180, but it will render as 160 x 160).
That’s it! You’re all set! Your page is now branded with your profile pic and cover photo matching and sharing a coordinated design. Now, send me the links to your FB brand page in the comments to show off your work!

 Tara Hornor
Tara Hornor has a degree in English and has found her niche writing about marketing, advertising, branding, graphic design, and desktop publishing. She is a Senior Editor for Creative Content Experts, a company that specializes in guest blogging and building backlinks. In addition to her writing career, Tara also enjoys spending time with her husband and two children.