Business cards are powerful marketing tools, but only if they’re designed to make a strong positive impression. A beautifully-designed card not only shares your contact information, it also provides your brand’s first impression and reinforces your professional outreach efforts. A sharp business card design will attract new clients and distinguish you from a crowd of competitors.
Today, we are going to design a creative business card in Adobe InDesign. We all know that InDesign has lots of effective tools for creating printed media; you can use it for business cards, brochures, letterheads, flyers, and more. So, let’s start with our business card.
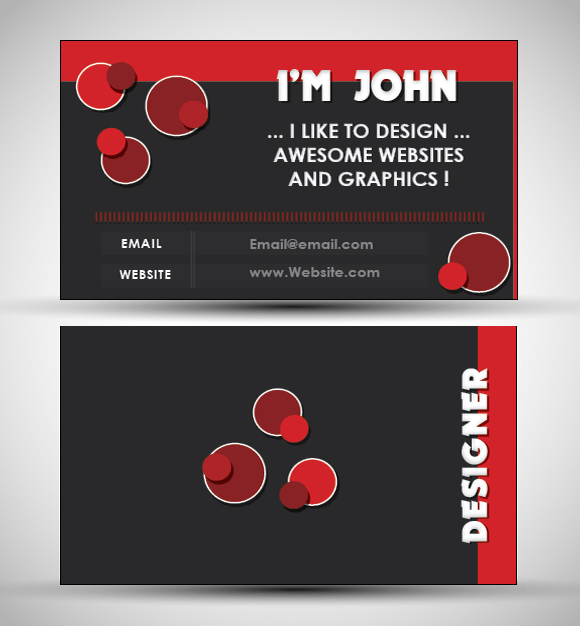
Final result: (Download the finished, layered InDesign file.)
Step 1
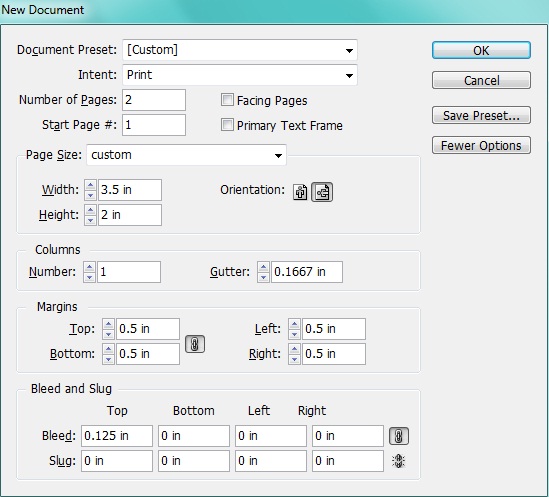
Open InDesign and click on “File” > “New” > “Document.” set the number of pages to 2, and deselect the facing pages option. Set the width to 3.5 inches and Height to 2 inches with margins of 0.5 inches and a bleed of 0.125 inches.
Step 2
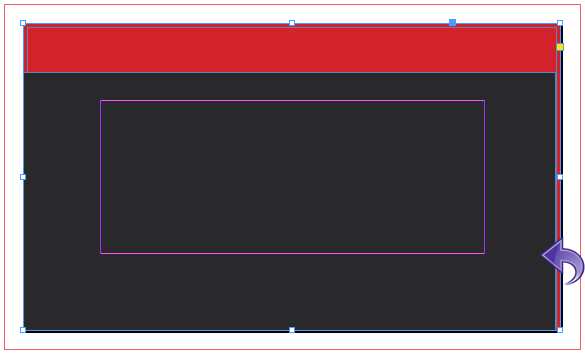
Select the rectangle tool and create a rectangle with a red swatch (C=15 M=100 Y=100 K=0).

Step 3
Now, add a 4pt stroke with the same red color swatch used to make our rectangle.

Step 4
Select the rectangle tool and create another rectangle with a black color swatch (C=0 M=0 Y=0 K=95).
Step 5
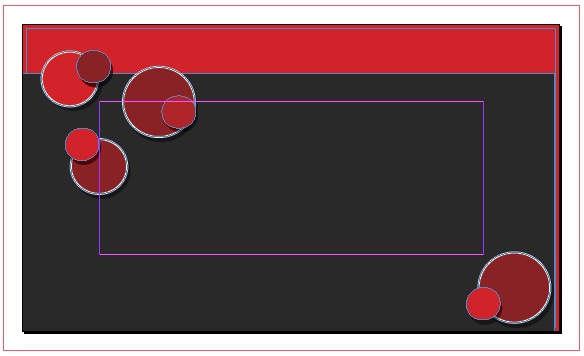
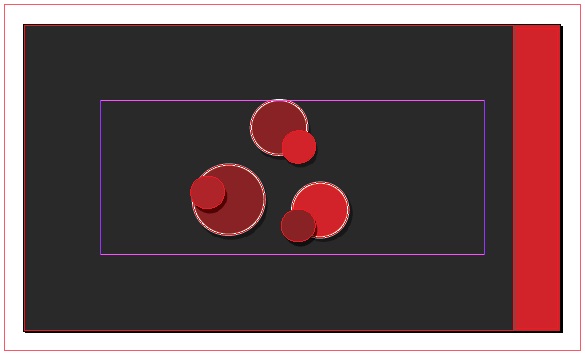
Now we are going to create some circles or rounds, so select the ellipse tool and create a circle with a red color swatch (C=15 M=100 Y=100 K=0). Add a 1pt stroke with a white paper swatch (C=0 M=0 Y=0 K=0).

Step 6
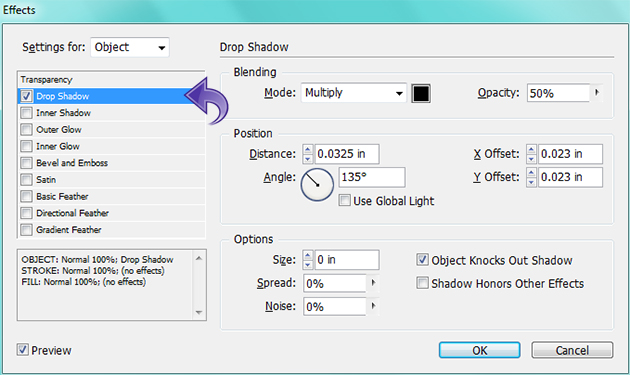
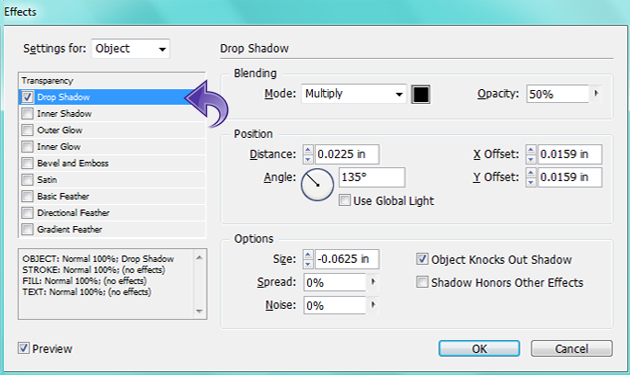
Select the circle layer from the layer panel and click on “Effects” > “Drop shadow.”
Step 7
Repeat the same process and add some more circles using the same techniques and settings. You can use different shades of red to fill your circles.
Step 8
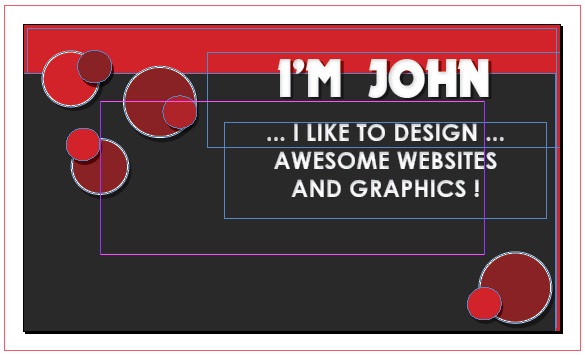
Now, let’s start with the details. Select the type tool and create a text frame. Then, add the title with a paper color swatch.

Step 9
Select the title layer, click on “Effects,” and add a drop shadow and an inner shadow using the following settings.

Step 10
Repeat the same process and add your desired text.
Step 11
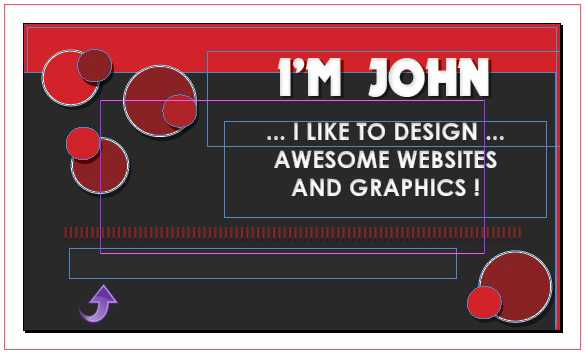
Select the line tool and create a divider, then add a 5pt “Straight Hash” stroke with a dark red color swatch (C=41 M=100 Y=100 K=200).

Step 12
Add a drop shadow to the above line by selecting the line layer and clicking on “Effects” > “Drop shadow.”

Step 13
Now, let’s add the contact information. For the base, select the rectangle tool and create a rectangular strip with a dark gray color swatch (C=0 M=0 Y=0 K=94), and include a 1pt stroke with a black swatch (C=0 M=0 Y=0 K=95).
Step 14
Repeat the same process to create another rectangle, then add the contact information using the type tool. (I’ve changed the “View” > “Screen Mode ” to “Bleed” so that we can properly see the details.)

Step 15
Select the line tool and create a vertical line with a dark color swatch (C=0 M=0 Y=0 K=93) and a 2pt “Thick-Thick” stroke with color swatch (C=0 M=0 Y=0 K=91).

Step 16
The front side of the business card is done, so let’s move on to the other side. Repeat the same initial process that we followed for the front side. (Let’s move back to the “Normal” screen mode)
Now select the rectangle tool and create a rectangle with a red color swatch (C=15 M=100 Y=100 K=0).
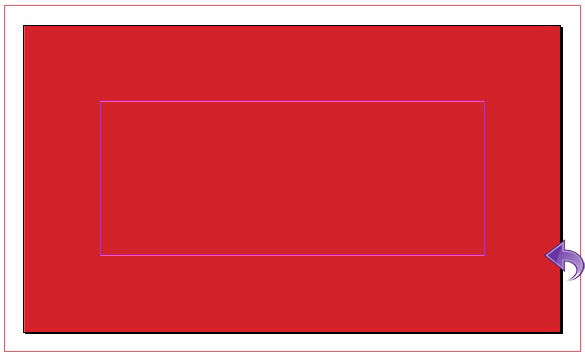
Step 17
Create another rectangle with a black color swatch (C=0 M=0 Y=0 K=95).

Step 18
Select the ellipse tool and create some circles with the same stroke and drop shadow that we used before.
Step 19
Select the type tool to add the desired title text. Then, click on “Object” > “Transform” > “Rotate 90o CW.”
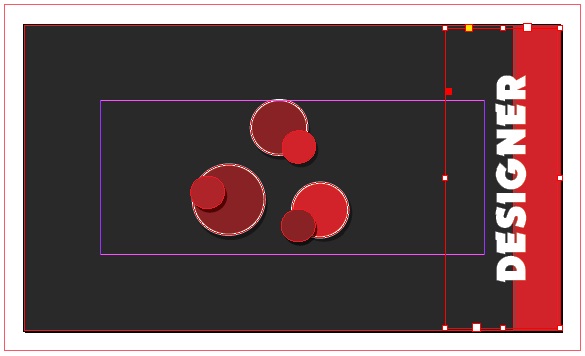
Step 20
Select the title layer and click on “Effects” to add add a Drop shadow and an Inner shadow using the following settings.

Step 21
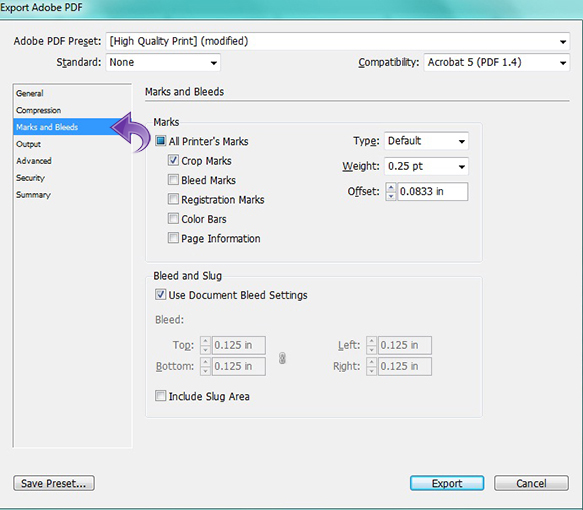
Now our business card design is ready, so let’s create a print-ready PDF file. You can adjust the settings according to your printer requirements. Click on “File” > “Adobe PDF Presets” > “High Quality Print,” and then save the PDF to your desired location. Now an export panel will appear; adjust the settings and click on the “Export” button.
We are all done. Our appealing business card is ready.
I hope you enjoyed the tutorial, I’ll be back with some more. Until then, take care!
 Anum Khan
Anum is Web and Graphic designer. Addicted to Photoshop and crazy for pixel perfection. She is also an active blogger, sharing her passions, skills and creative details on her blog Websoulz. She loves to connect with the community, sharing the latest design gossips and rolling her eyes on boring trends.


