Sometimes, designers are asked to spend several hours perfecting prominent images, but a task this intensive (and ample time to truly perfect it) is a rarity. Most often, designers are asked to make quick, time-efficient improvements to imagery to meet deadlines and make progress on projects Just because you’re a novice in Photoshop doesn’t mean you can’t spice up your images, and with the right approach, you can add a layer of polish to your imagery in minutes. Whether the image in question is for a professional project, a picture you want to share with family and friends, or even your own photo for social profiles, you can very easily add tonal changes that improve image quality very quickly.
Tonal changes can do wonders to your photos. Photographers all over the world edit their photos tones, and fashion magazines do this almost religiously. Today, I’m showing you three quick ways to achieve three different tones to your photo of choice. So, let’s get started.
Resources
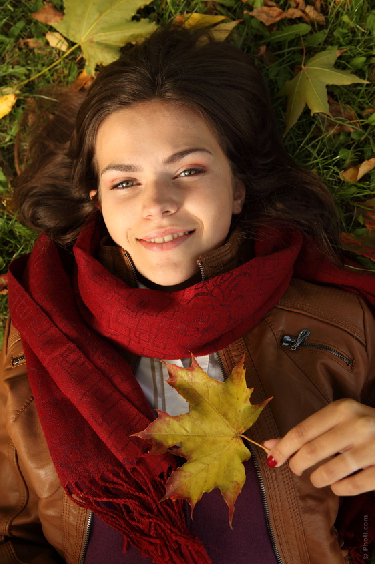
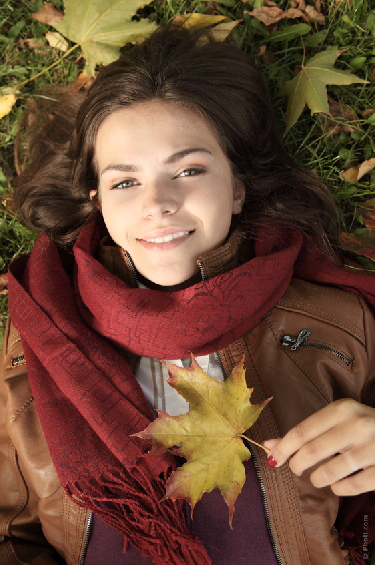
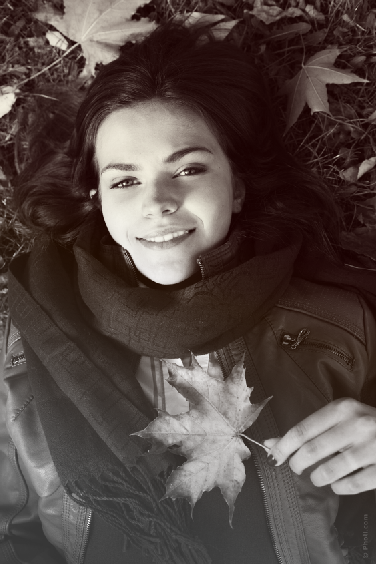
Girl Portrait
Effect #1
Step 1
Begin by opening the image you’re going to work with. I’ll be working with the image listed above under “resources.” Note that this will be the same image for the next two tonal edits as well.
Step 2
Make any detail-oriented retouching changes you need. You’ll need to do all of your retouching before you begin changing your image’s tones. This way, details will be blended and look more natural.

Step 3
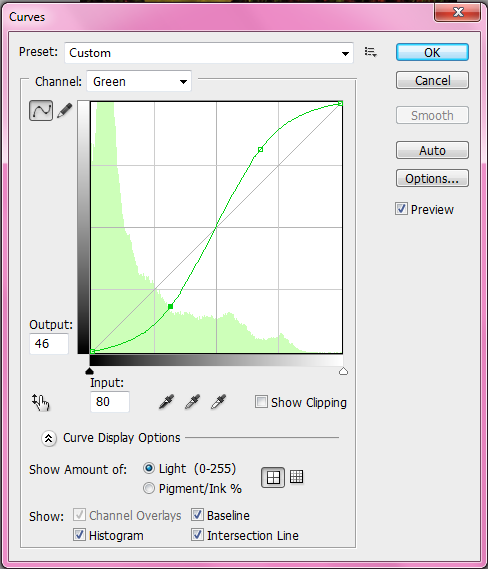
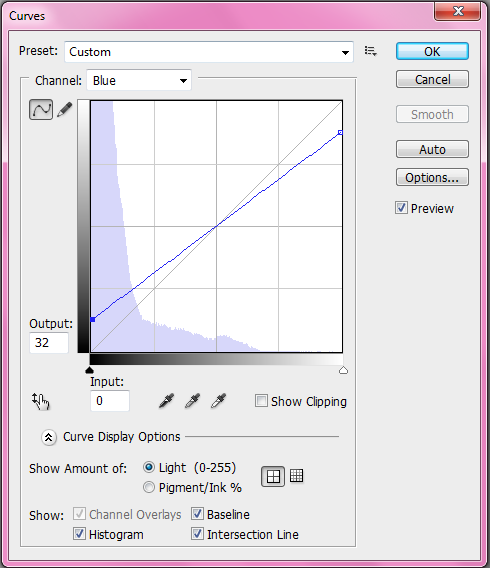
Duplicate your image, open the “Curves” dialogue menu, set the increments shown below, and hit “OK” to make the changes take effect.

Step 4
Set your image to “Darken.”

Duplicate the image, setting the image to “Subtract” and dropping the opacity to 30%.
Go to “Filter” > “Stylize” > “Glowing Edges,” and set the increments to the values shown below. Press “OK.”

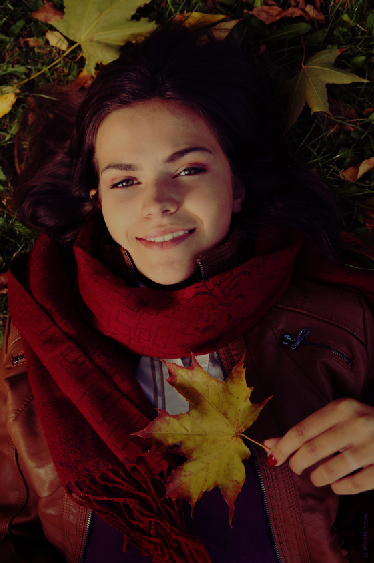
Final Image

Effect #2
Repeat steps 1-2
Repeat steps 1 and 2 from the previous tonal tutorial above.
Step 3
Create a Hue/Saturation layer and change the saturation to -100. This will give you a black and white image before you set the layer mode to “Screen” with the opacity at 50%.

Step 4
Make a new layer, fill it with color #ff2673, and set the layer mode to “Lighten.” Then, lower your opacity to 25%

Step 5
Create another layer, fill this new layer with color #ca9539, change the layer mode to “Saturation,” and drop the opacity to 25%.
Final Image
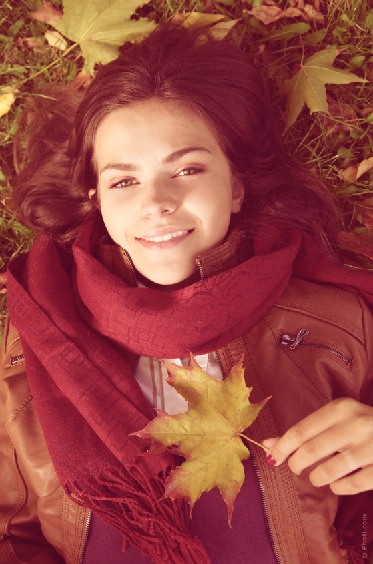
Effect #3
Repeat steps 1 and 2
Repeat steps 1 and 2 from the original tone edit above.
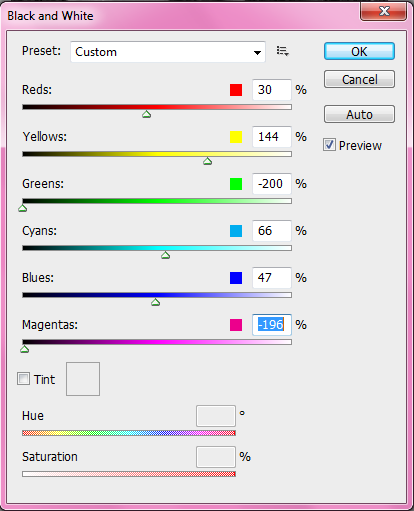
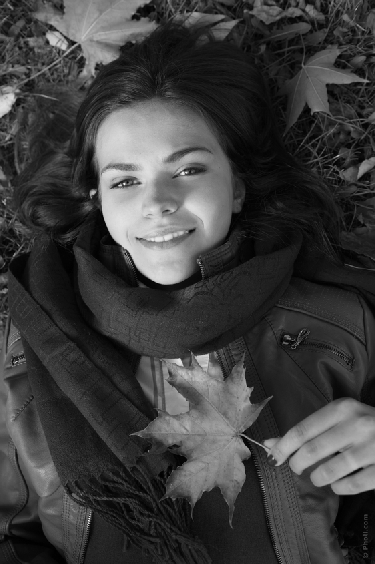
Step 3
Duplicate your image, go to “Image” > “Adjustments” > “Black & White,” and input the following values.
Change the layer mode to “Color.”
Step 4
Duplicate the image once more, and set it to “Overlay” with the opacity at 50%.

Step 5
Make a new layer and — with your foreground color set to #b87952 and the background set to #ffffff — drag the Linear Gradient tool across the image diagonally. Change the layer mode to “Hard Light” and drop the opacity to 21%
Final Image
Conclusion
Editing your images doesn’t have to take several hours, especially if you only need to change the lighting and tone of your image. Quick tricks can turn your image from boring to engaging within a couple of minutes. Although these tricks are pretty efficient, keep in mind that (depending on your specific image) you won’t get the exact same results and may need to do some tweaking. Experiment with creating your own looks by working with curves, levels, layer modes, and opacity. If you have a favorite look or a favorite method to change the tones and colors of your images, please feel free to share.
 Gabrielle Gosha
Gabrielle is a creative type who specializes in graphic design, animation and photography.