There’s little point to publishing an advertisement if it’s not compelling and persuasive, and since attention spans are measured in milliseconds on the web, you have only an instant to make a strong, lasting impression on interested eyeballs. In most cases, your web advertisements will sit next to content that was carefully chosen by the viewer, next to advertisements that are competing for the same attention, or perhaps next to both at once.
Because web ads are in fierce, constant competition for the ever-shrinking attention spans of viewers, it’s critical for advertisers to take any tactical advantage that they can. From a designer’s standpoint, that means polishing your advertisements for maximum visual appeal, from the largest full-page ads down to the smallest stamp-sized promotions.
Designing small ads with big appeal can be a bit tricky due to size limitations. But, if you can condense your message down to a few words and combine it with some careful design techniques, you can generate solid interest and bring a surprising amount of value to advertisers. So, today we are going to design 125px by 125px banner ad. We will use some interesting techniques and blending options to create this small-but-mighty advertisement. So, let’s get started.
Final Result:

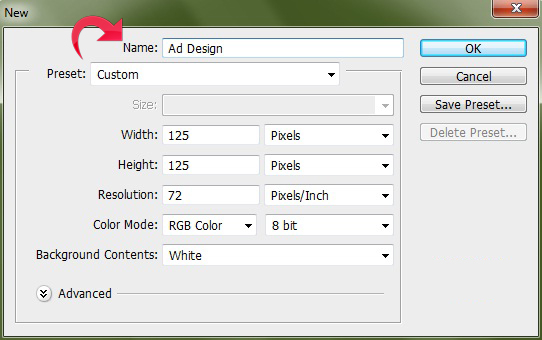
Step 1: Size Your Canvas
Create a new file with a 125px width and height.
Step 2: Build Your Background
Select the paint bucket tool and fill the background with color #363844.

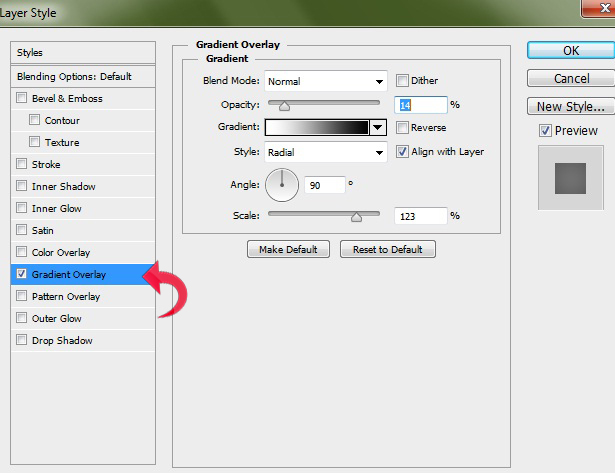
Step 3: Grab a Gradient
Now click on “Layer” > “Layer style” > “Gradient Overlay” and add a radial gradient using the following settings.
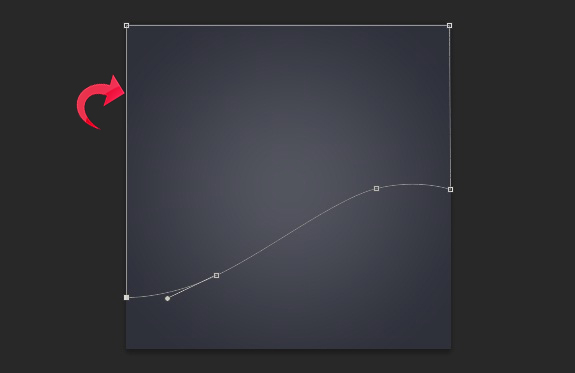
Step 4: Divide Your Canvas
Select the pen tool and create a path, then right-click on the path and click “Make selection.”
Step 5: Create Contrast
Create a new layer and fill it with color #f76e25.

Step 6: Style Your New Layer
Now, click on “Layer” > “Layer styles” > “Gradient Overlay.” Use the settings shown below.

And, add “Drop Shadow” using the following settings.

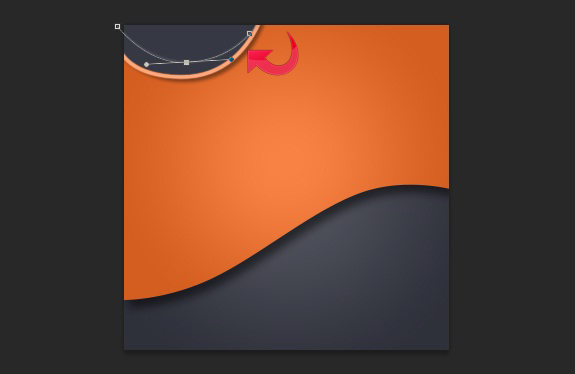
Step 7: Add an Accent Corner
Select the pen tool and select an area in the top-left corner, then fill it with #363844.

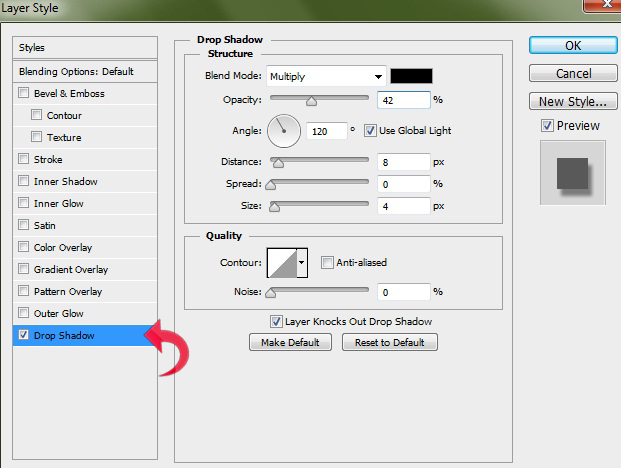
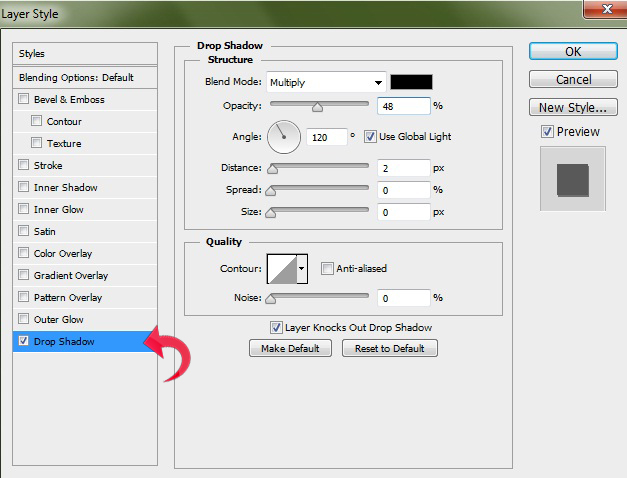
Step 8: Build a Drop Shadow
Click on “Layer” > “Layer styles” and add a drop shadow.
Step 9: Add Detail
Select Photoshop’s hard round brush with a 4px size and #ffa87b as your foreground color. Now, select the pen tool to create a path, right-click on it, and select “Stroke Path.”

Step 10: Add Styling
Again, use the pen tool and this time stroke it with a 2px hard round brush using color #202128.
Step 11: Repeat
Repeat the same process to add some more lines.
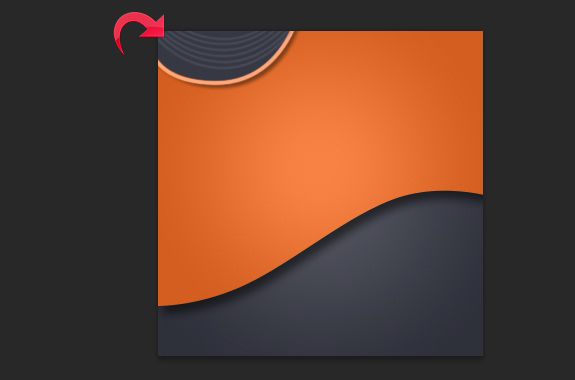
Step 12: Duplicate Your Design
Now add two more half circle shapes and lines using the same techniques from steps 7 through 11. You can save time by copying the layers, but make sure to reposition and reorient the shape to add variation.

Step 13: Add Your Message
Now, our background design is done, so let’s start with the advertisement’s text. Select Photoshop’s text tool to add text using color #363844.

Step 14: Add a Text Shadow
Click on “Layer” > “Layer styles” > “Drop Shadow” and add a drop shadow to your text using the following values.
Step 15: Vary Your Text
Add more text using color #ffd6c0, and add the same drop shadow using the settings above. Changing text colors will add visual variety to your message.

Step 16: More Text Variation
Add the last line of the text using color #ee793a and same drop shadow used in steps 14 and 15.

Step 17: Build a Footer
Select the rectangle tool and create a small rectangle using color #22232a.

Step 18: Brand Your Bottom
Now, add text in the middle using color #ffd6c0 and add a drop shadow.

Now, simply use Photoshop’s “save for web” action, and we are done. I hope you guys enjoyed the tutorial. Feel free to show off your own advertisements in the comments.
 Anum Khan
Anum is Web and Graphic designer. Addicted to Photoshop and crazy for pixel perfection. She is also an active blogger, sharing her passions, skills and creative details on her blog Websoulz. She loves to connect with the community, sharing the latest design gossips and rolling her eyes on boring trends.


